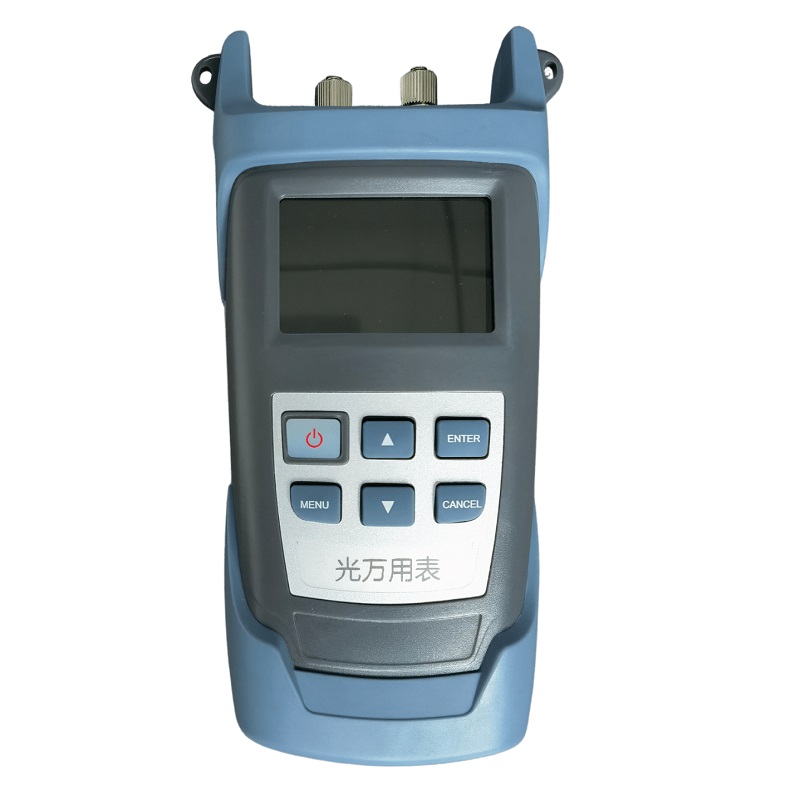


1.Product overview
A handheld optical multimeter is a precise, durable, portable meter specifically designed to install, operate, and maintain fiber optic networks. It has a small form factor, automatic shutdown function, ultra-wide optical power test range, accurate test accuracy, user self-calibration function and universal interface design, and linear index (mW) and nonlinear index (dBm) are displayed on the same screen.
The handheld stabilized light multimeter can provide a stable output of 1 to 4 wavelengths according to users requirements, which can provide 650nm visible red light, or provide dual wavelength laser output of 1310nm and 1550nm to single-mode fiber measurements, or provide 850/1300/1310/1550nm four wavelength laser outputs at the same time, which is an ideal test instrument for fiber optic engineering.
| Interface form
|
2.Product features
User self-calibration function
The use of rechargeable lithium batteries to reduce the cost of users’ use.
Linear (mW) and nonlinear indicators (dBm) are displayed on the same screen
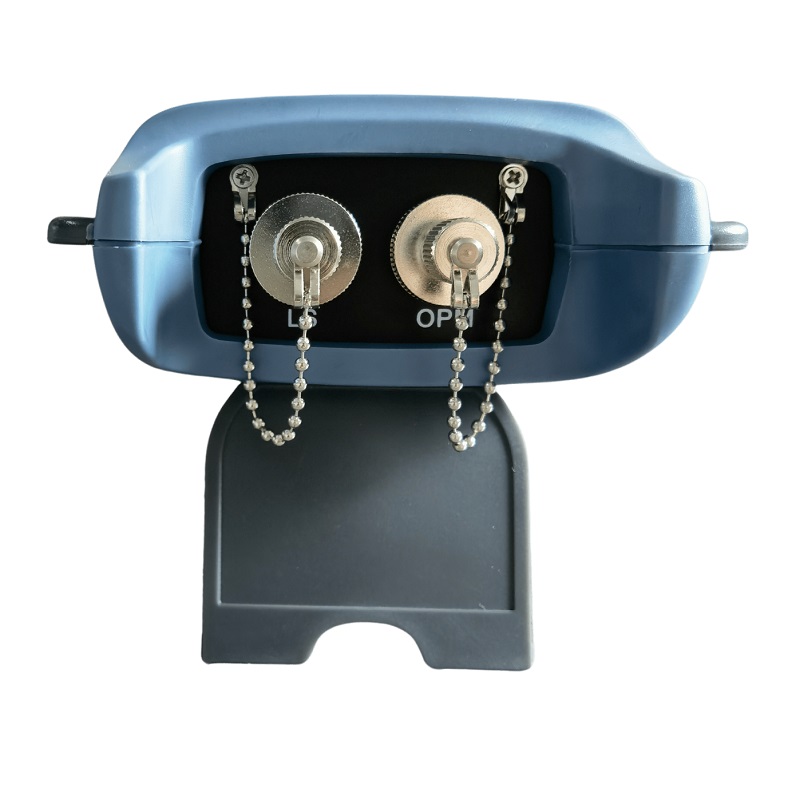
LC/FC/SC/ST and other common interfaces
Self-configurable auto-shutdown function
Highly stable multi-wavelength single (multi)mode laser output, CW mode or modulation mode
Color LCD display
Data can be uploaded to a PC
Power meter section:
| Power measurement range | -70~+3O OR -50~+26 |
| Probe type | InGaAs |
| Wavelength range | 800~1700 |
| Uncertainty | ±5% |
| Standard wavelength(nm) | 850、980、1300、1310、1490、1550 |
| Display resolution | Linear display:0.1% Logarithmic display:0.01dBm |
The light source section:
| Wavelength range: | 800-1650nm |
| Precision: | ±5 % ± 10 nW。 |
| Single-mode output power: | ≥–2dBm。 |
| Multimode output power: | ≥–20 dBm。 |
Other indicators:
| Display resolution | Linear display:0.1% Logarithmic display:0.01dBm |
| Operating temperature(℃) | -16~+60 |
| Storage temperature(℃) | -25~+70 |
| Automatic shutdown time(min) | 10 |
| The battery lasts for continuous operating time | Not less than 15 hours |
| Display | 2.4TFT Color LED Backlit |
| Dimensions(mm) | 190×100×48 |
| Power supply | Rechargeable lithium battery |
| Weight(g) | About 280 |
| Logotype | Function | |
|
||
| Menu and function selection | ||
| Go to the menu or select The Current Action | ||
| Exits the current operation without saving | ||
| Function selection, data increment | ||
| Function selection, data decreasing |
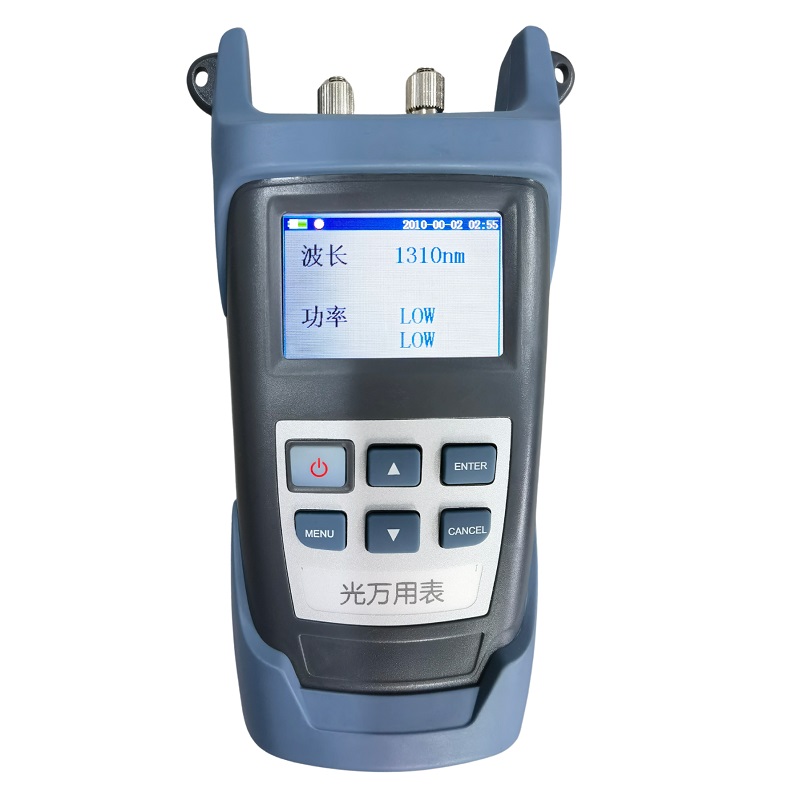
5.How-to guides
5.1 Boot
Pressingto enter the power on state,and the following interface is displayed:
5.2Shutdown
When the power meter is powered on, press for about 2 seconds to shut down.
5.3Language settings
This instrument can be set up in Chinese, English.
(1)First enter the settings screen, then select Language Settings,press,enter the language settings screen as follows:
(2) Making a feature selection on and.If you select Chinese item,pressat this point,the interface returns to the settings interface, and the language displayed is Chinese. If you press the exit button, you return directly to the settings interface without changing the current language.
5.4Time settings
(1)First enter the settings screen, then select time settings, press , and enter the time settings interface as follows:
(2) is used to select items. Pressing and to adding or subtracting time values. Pressing makes the settings take effect and returns to the settings interface. Pressing the exit key cancels and returns to the settings screen. After pressing the OK key, if the current time is not the correct time, then the focus jumps to the error, and only when the correct time is set can the change time take effect after pressing the OK key.
5.5Document management
(1) Pressing under the main interface, then move the menu focus by and to make the “Document” item selected, and then pressing to enter the document interface as follows:
(2) The focus is recorded by and moved files, is used to move the focus of the command button, when the command focus is “View”, press to view the result of the current file. When the command focus is Up Page or Page Down, press to turn the page up or down. In addition to that, there are commands such as “Delete”, “Empty”, etc.
5.5Calibration settings
Calibration settings are used to set the offset size. Add a value to the power display value as a whole.
- First enter the settings interface, then select the calibration item, press , and enter the calibration interface as follows:
- is used to select items. and add or subtract 0.01 from the calibration value. When the selection is a Save button, pressing ,it takes effect for the change to take effect.
- When the selection is a factory button, pressing restores the calibration value to the factory state.
5.6Data upload
The measurement results can be stored on the machine or stored in the host computer and uploaded to the PC through the host computer software. As long as one end of the data cable is connected to the PC Link interface of the local pc, the other end is connected to the USB port of the PC, open the host computer software, set the host computer software by default, and then upload directly at the host computer point, you can upload the data to the PC.
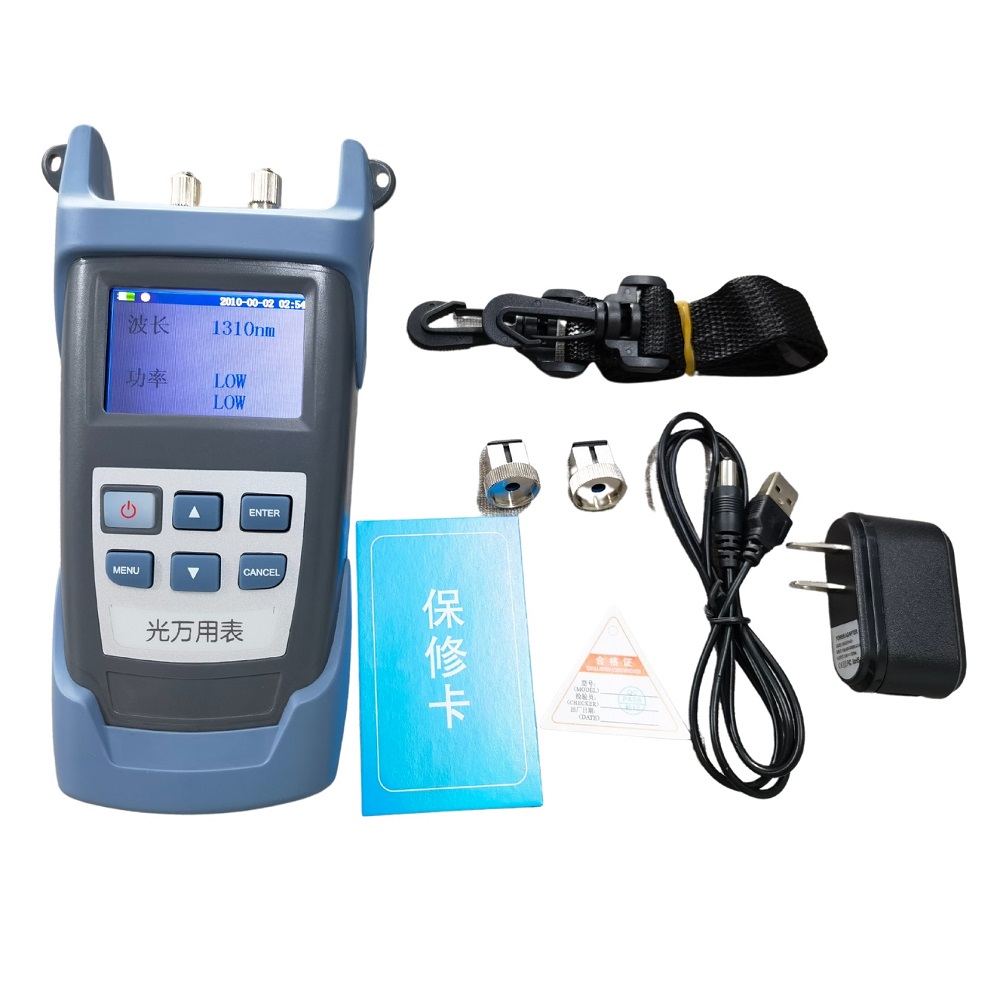
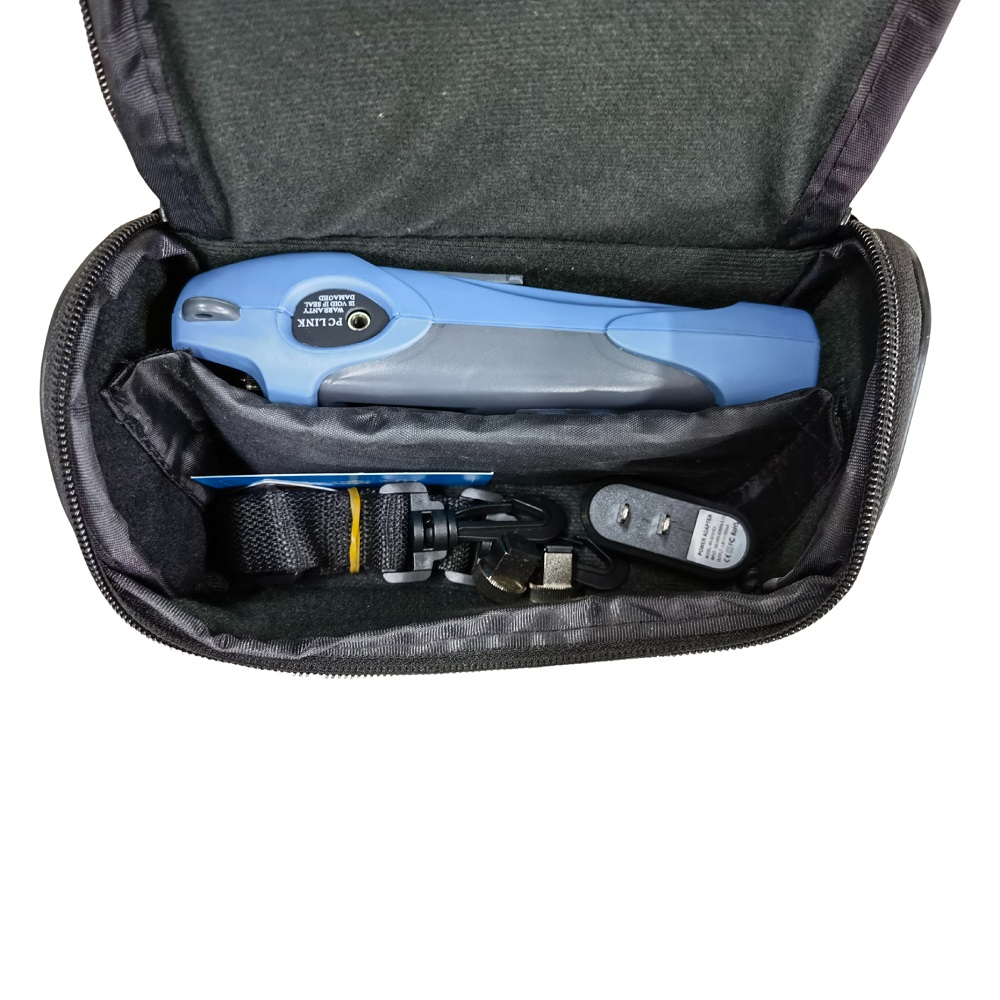
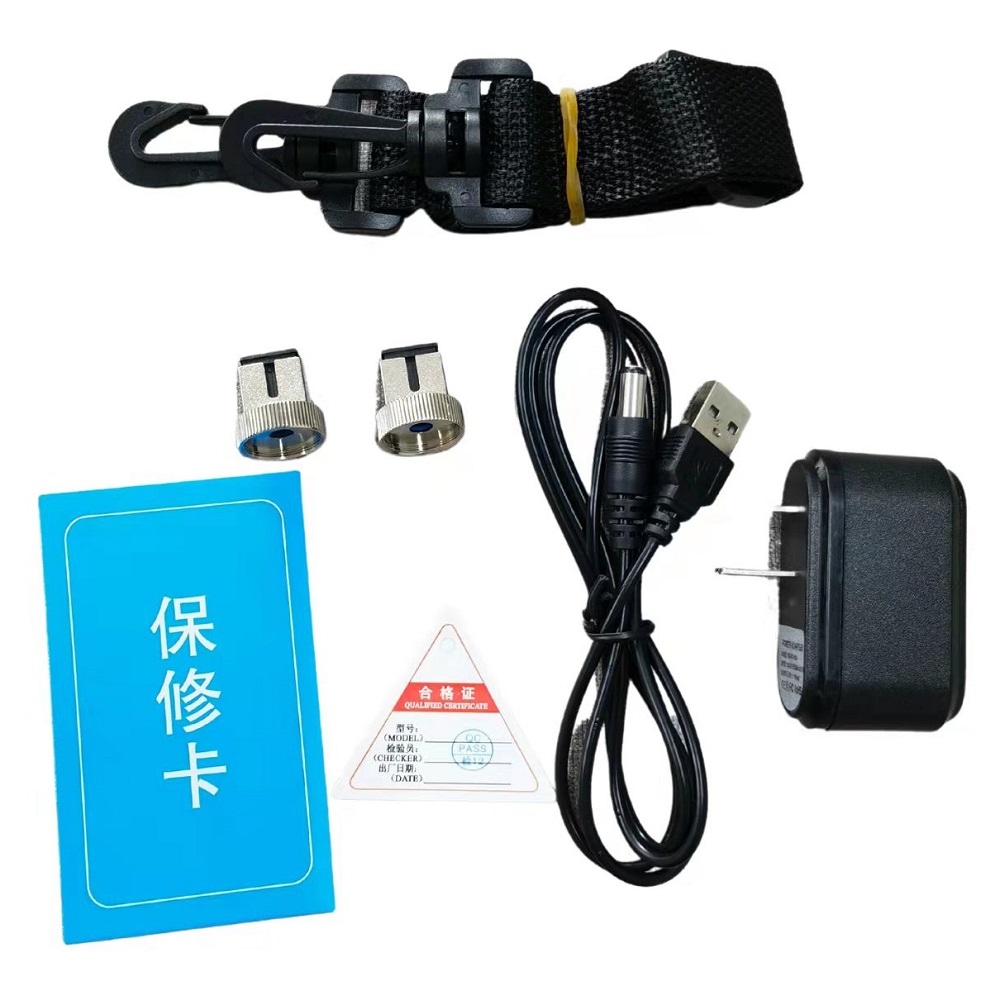
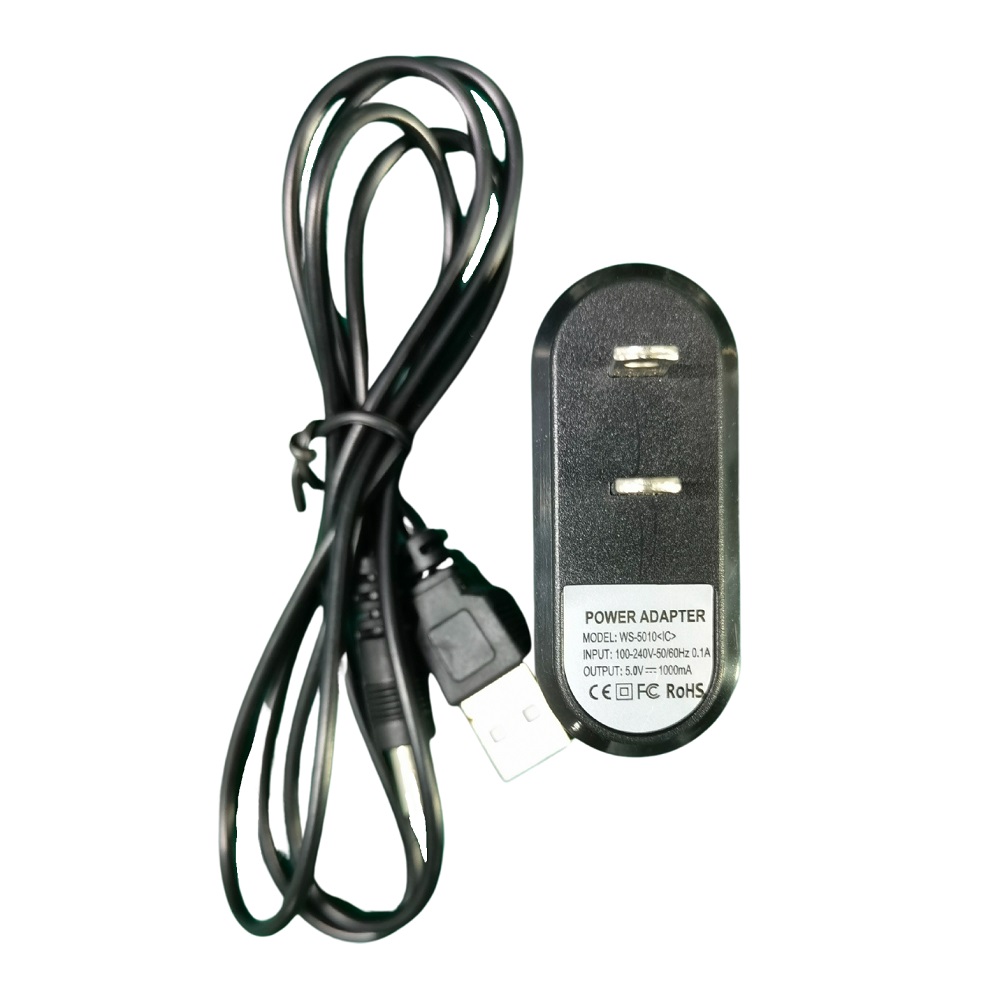
6.Standard configuration
| Configuration description |
| Stabilized optical multimeter host
Rechargeable lithium battery (placed in the main battery compartment) Product warranty card Product brochure Certificate Instrumentation package Charger Dedicated cleaning stick |
7.Maintenance and upkeep
Precautions
- Avoid looking directly at the output while working, the laser will hurt your eyes
- If it is not used for a long time, the user can use a dust cap to protect the light output port to avoid the output from being exposed to air and being polluted
- When the stable light source is used for a period of time, the light output port may have dirt adhered to the internal sleeve, resulting in a decrease in the output optical power, then the user can use a cotton swab stained with alcohol to remove the dirt, and then use a dry cotton swab to remove the traces, if it is still impossible to clean, please contact the company directly
- Other faults please contact the company directly, do not disassemble the instrument to repair yourself, so as not to cause more serious failures. For the instruments that have been disassembled and assembled without permission, our company will not repair them
8.Common failures
| Serial Number | Symptom | Workaround |
| 1 | The output light was found to be unstable during use | Charge the meter |
| 2 | The adapter port is not clean and stained | Gently scrub with alcohol |
| 3 | When the meter is just turned on, the output optical power fluctuates somewhat | Warm-up for 15 minutes before use |
9.Quality assurance
We don’t approve of self-repair by users.
- The warranty period of the instrument is 18 months from the date of shipment. Our company will be all its products material and process commitment, warranty period of eighteen months from the date of shipment is valid. When the purchased product is found to have quality problems during this period, our company will make corresponding repairs or replacements. However, in any case, our company’s liability will not exceed the purchase price of the product.
- If there is a problem in the use of the instrument, according to the common fault prompt solution can not be solved, the user is not allowed to open the chassis without authorization, please contact our company’s marketing department or local agents.
- For quality failures caused by production defects, our company is responsible for free repair or replacement of products.
This guarantee applies only to normal use of the meter and is free from damage or improper use.
The warranty does not cover problems/failures caused by:
- Unauthorized repair or modification of the instrument
- Improper use, negligent use, accident, etc
All our products have a warranty registration card. Please fill in and send it back to our company together with a copy of the invoice, so that when we need to maintain, innovate, calibrate, etc. of your instrument in the future, we will have a root cause record.
Instruction Manual for Optical Multimeter (English Version)
Optical Multimeter TH500 Test Report